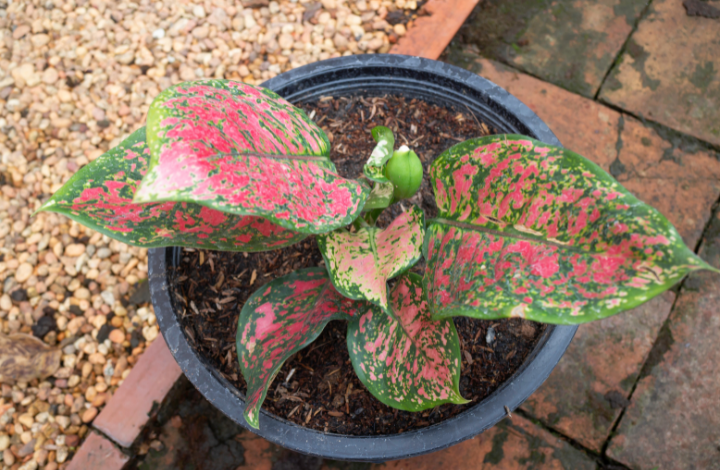
Aglaonema plants are known for their beautiful, glossy leaves, which come in various shades of green, silver, red, pink, and cream. The leaves often have interesting patterns, such as stripes or speckles, making them visually appealing. If you love to have plenty of Aglaonema plants in your home garden, you don’t have to buy several plants. Our simple guide should help you to propagate Aglaonema plants easily. You could use them yourself or share it with your neighbours, friends and other garden enthusiasts and spread the love. So let’s get started.
What is Plant Propagation?
Plant propagation is the process of creating new plants from existing ones. It involves various techniques to reproduce plants asexually, without the need for seeds.
Plant propagation is commonly used in gardening, horticulture, and agriculture to produce multiple plants with desirable traits, maintain genetic diversity, and propagate rare or valuable plant specimens.
Common methods of plant propagation include stem, leaf, or root cuttings, division, layering, grafting, budding and tissue culture.
How to Propagate Aglaonema Plants

Aglaonema plants can be propagated through a few different methods. Here, we discuss two common ways to propagate Aglaonema:
Using Stem Cuttings:
- Select a healthy stem from the parent Aglaonema plant that has at least two or three nodes (points where leaves emerge).
- Using a clean, sharp knife or pruning shears, make a clean cut just below a node. This will serve as the base of the cutting.
- Remove the lower leaves from the stem, leaving a few leaves at the top.
- Optionally, you can dip the cut end of the stem in a rooting hormone powder or gel to encourage root development, although it’s not necessary.
- Prepare a pot or container with a well-draining potting mix.
- Make a small hole in the potting mix and insert the cutting, burying the lower nodes in the soil.
- Water the cutting thoroughly and place it in a warm, well-lit area with indirect light.
- Maintain a slightly humid environment by covering the cutting with a plastic bag or using a propagator.
- Keep the soil lightly moist but not overly wet.
- Within a few weeks, new roots should start to develop. You can gently tug on the cutting to check for resistance, which indicates the presence of roots.
- Once the roots have developed, you can gradually acclimate the new plant to normal conditions by removing the plastic covering and reducing humidity.
By Division:
- Carefully remove the parent Aglaonema plant from its pot, being mindful of the root system.
- Gently separate the plant into smaller sections, ensuring that each division has sufficient roots and foliage.
- Prepare individual pots with well-draining potting mix.
- Plant each division in its own pot, burying the roots and keeping the foliage above the soil.
- Water the newly divided plants thoroughly and place them in a warm, well-lit area with indirect light.
- Continue to care for each division as you would an established Aglaonema plant, providing adequate water, light, and humidity.
Your propagation success may vary depending on factors such as environmental conditions and the health of the parent plant. It’s important to provide proper care and patience during the propagation process.
You can find a good Aglaonema plant in your nursery or buy one from Amazon. And then start propagating!
Leave a Reply